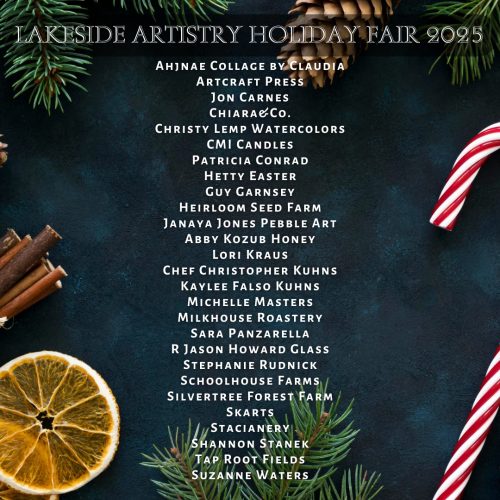
Excited to be participating with this group of artisans! Stop in and say hello Saturday Dec 6th at the First Presbyterian Church
Skaneateles, New York!
Excited to be participating with this group of artisans! Stop in and say hello Saturday Dec 6th at the First Presbyterian Church
Skaneateles, New York!
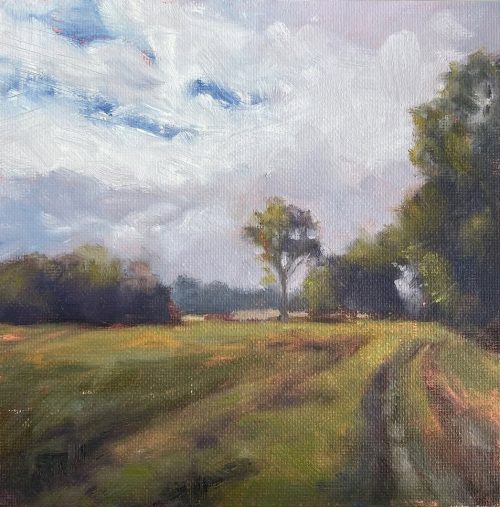
8 x 8 oil on linen. It’s so fulfilling to be painting in oils again. I’ll never tire of studying this landscape. More to come…
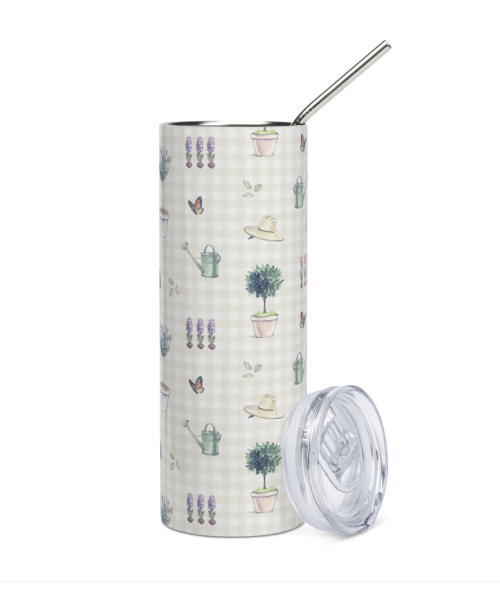
I was skeptical- I have to admit. This tumbler was really pretty to look at. I love the way the printing came out and it felt great in my hand but I wasn’t really a stainless steel fan… especially those straws. Gotta say- I love using it! I always have ice water on my nightstand at night and I’ve been pleasantly surprised to find ice remaining in the morning. Coffee on the way out of the door? Yes, sans straw. Fits nicely in my cup holder and it makes me happy to carry! I’ll be adding more designs. Click here for ordering information.
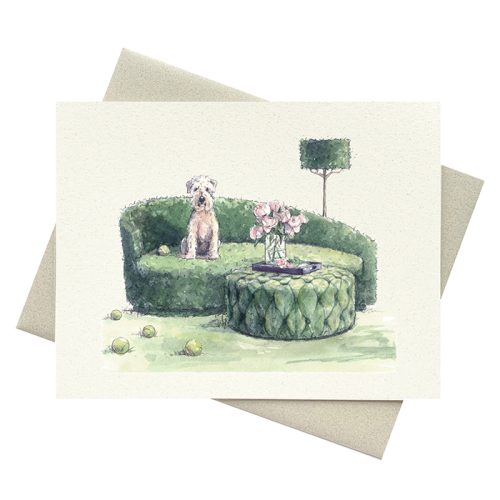
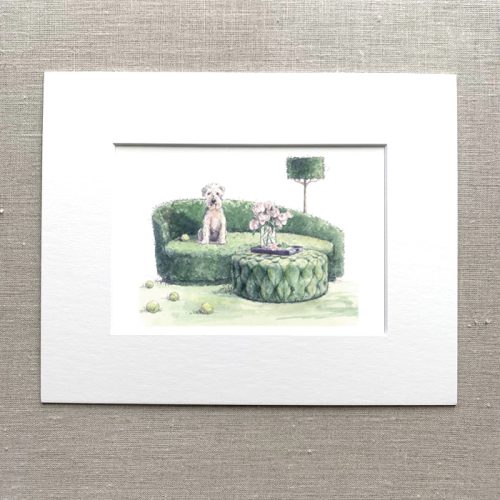
Our Wheaten Terrier design is based on a sweetheart, man about town named Winston. Complete with tennis balls and a bouquet of peonies Winston is sure to bring a smile to your favorite Wheaten lover. For ordering details click here.

Topiary Themed Valentines
A fun selection of Valentines for this year! Are you tired of only getting ads and bills in the mail, I know I sure am. Keeping the post office in business by sending handwritten notes is a simple extravagance that I can stand behind. In our tech dependent lives sending and receiving a letter “in someone’s hand” is such a thoughtful and organic expression. Greeted cards and blank notecards are available. Click here for ordering information. #sendlove
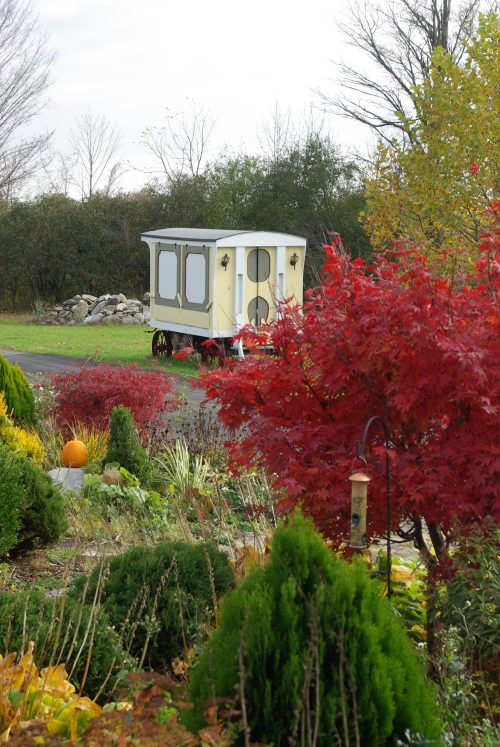
You know when you know, and I knew that I knew when I drove past this little darling sitting there all cute-like in a stranger’s yard. Let’s make a deal! “Honey, I ‘m going to need the pick-up later. “
And so it began 10 years ago. This flower cart has its own special place in my trailer and my heart. It’s been hauled all over the place… set up after set up, take down after take down. Joel can testify. It’s an anchor for my space and a great place to create some topiary love! It seems only fitting to feature it in an upcoming design…


 Coming soon!!
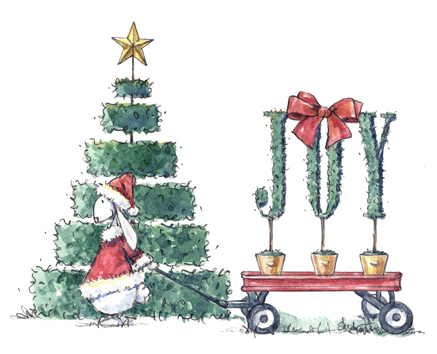
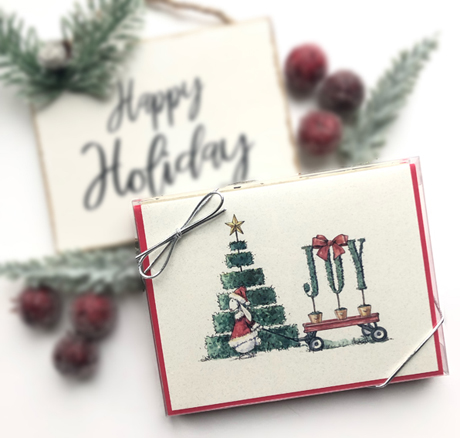
Our latest Hedges & Hares designs just in time for 2022! For ordering information please click here.